Noir Compiler
Noir lets you build zero-knowledge applications without writing cryptographic circuits. This guide covers the entire workflow of using the Noir Compiler plugin in Remix IDE to compile Noir code, generate a zero-knowledge proof, and verify the generated proof using a Solidity smart contract and a js script.
Creating a Noir Workspace
To create a Noir template, click the «Create a new workspace» button in the top center of the screen
and scroll to find the «Noir ZKP» template and click «Create». This will create a new workspace with the necessary Nargo.toml and src/main.nr files.
After generating the workspace, the Noir Compiler Plugin will automatically be activated and the icon will appear on the Icon Panel.
Compiling Noir circuits
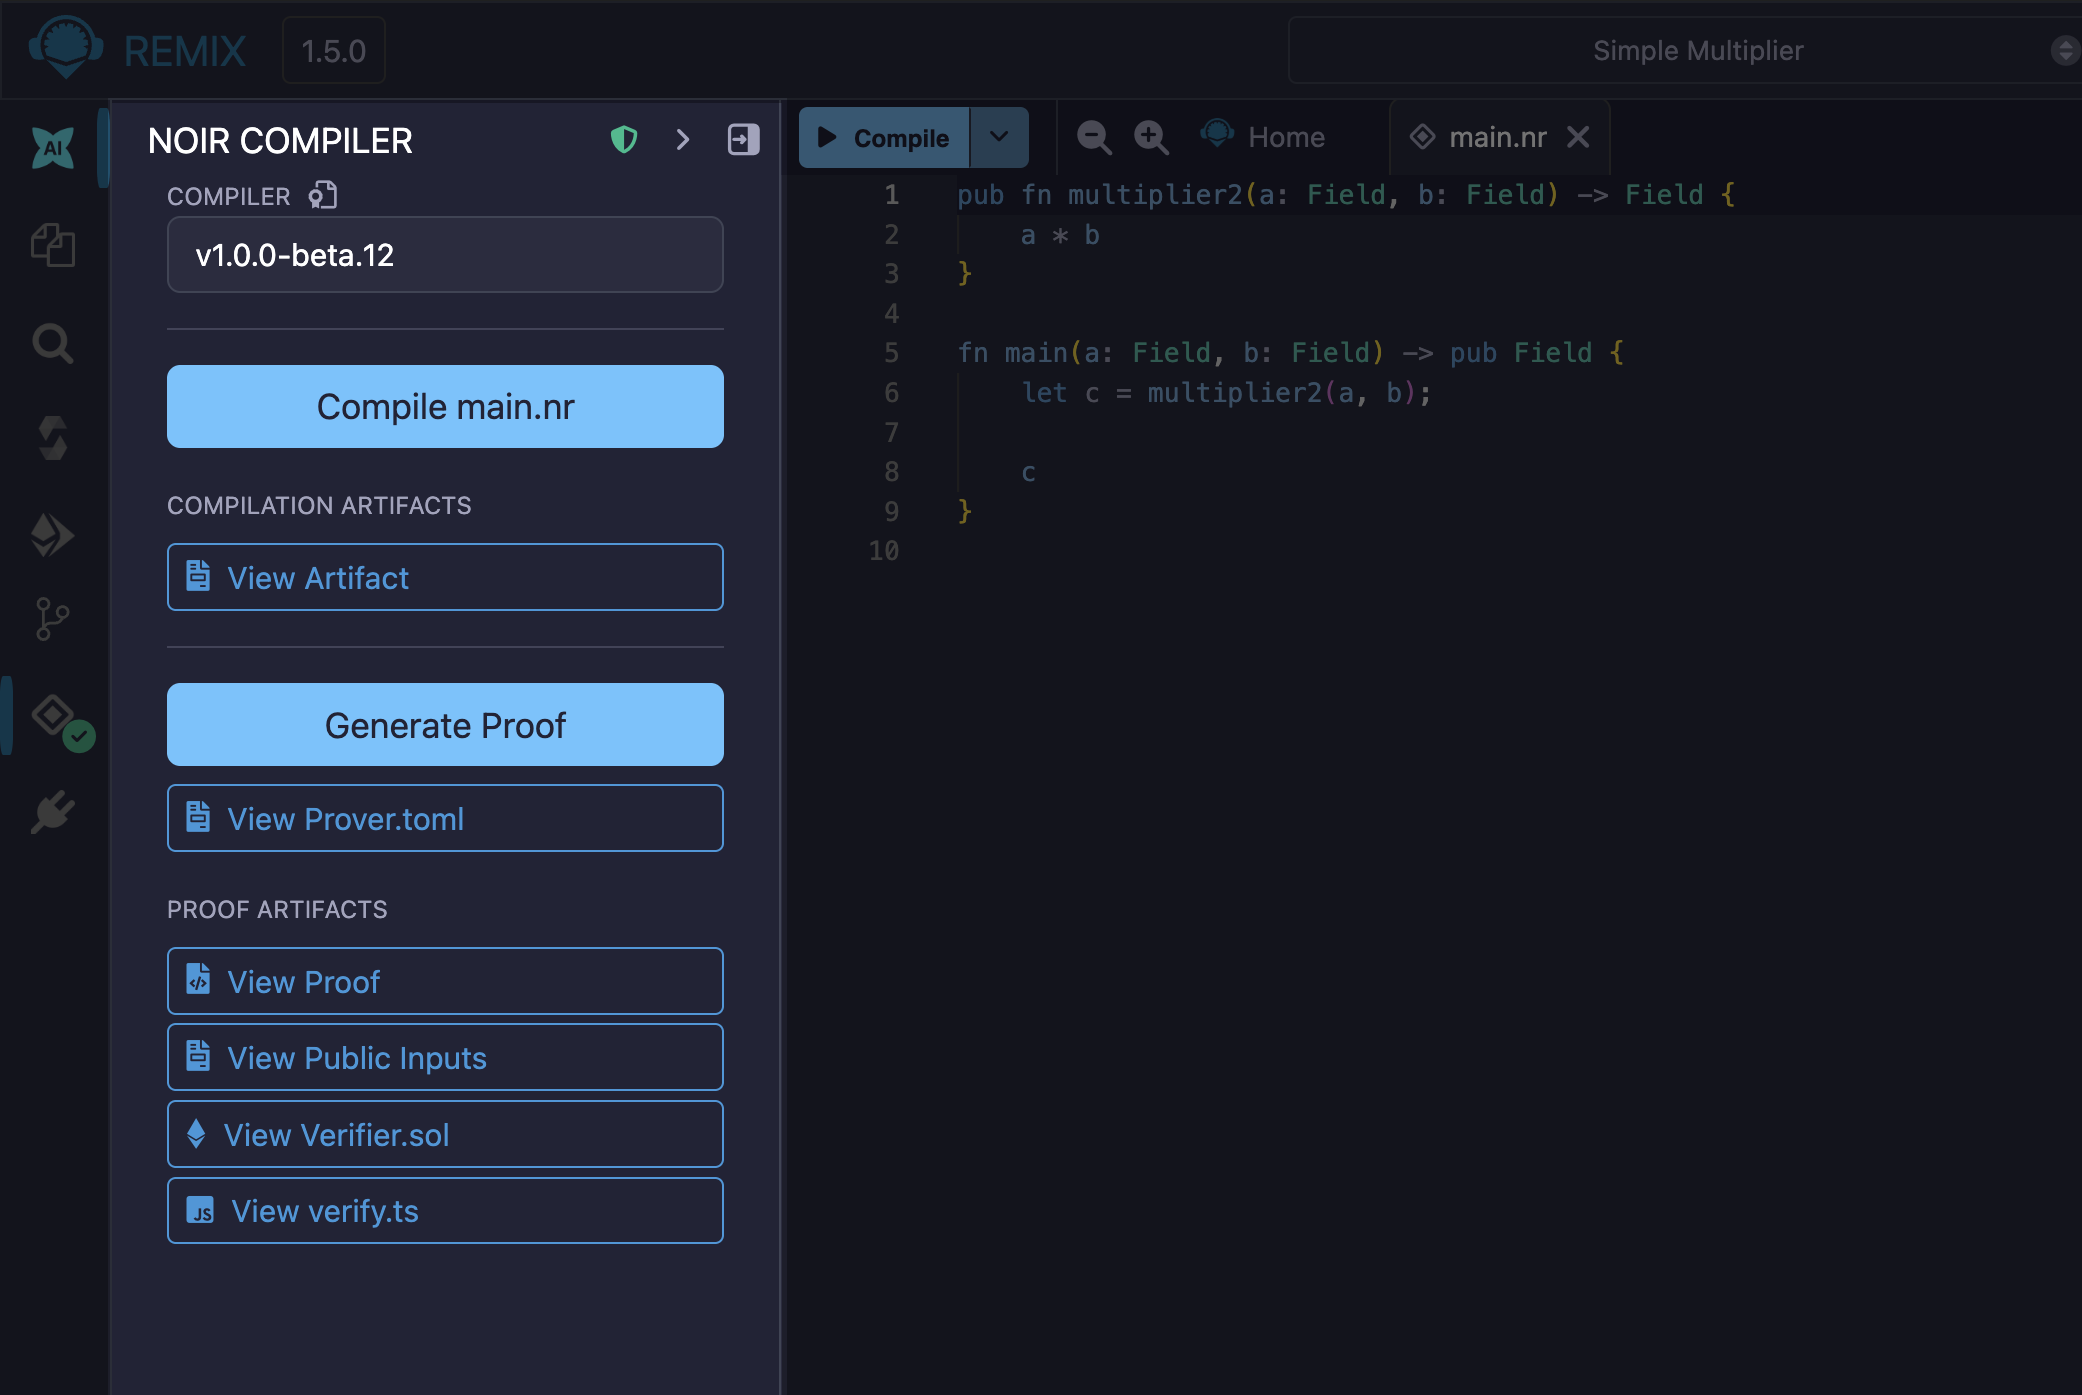
Selecting the main.nr file will activate the «Compile» button. When you click the button the plugin starts the compilation process by zipping the project files and sending them to the compiler’s backend.
On the backend, the server runs nargo compile and on successful compilation creates/overwrites two files in your workspace:
build/program.json: The compiled circuit artifact (ACIR/ABI).Prover.toml: A template file for providing inputs needed for proof generation.
Once the compilation process is complete, a «Compilation Artifacts» section appears on the Noir Compiler Plugin page showing a «View Artifact» button. The «Generate Proof» button is activated.
If a compilation error occurs during this process, the error message will be displayed in the feedback window below the «Compile» button.
Setting circuit inputs
If your circuit requires inputs (private or public), you must edit the Prover.toml file before generating a proof.
In the file, fill in the required input values in the [inputs] section and save the file (e.g., a = "1", b = "2").
Generating zero-knowledge proofs
Once the inputs are set, click the «Generate Proof» button. Similar to the compilation process, the plugin zips the entire project, including the Prover.toml, and sends it to the backend.
The backend runs nargo execute to generate a witness, then uses the proving library (bb.js) to generate the proof and related artifacts.
- The plugin receives a zip file and extracts the following files into your workspace:
build/proof: The formatted hexadecimal proof for use in UI and Solidity.build/public_inputs: The formatted JSON array of public inputs.contracts/Verifier.sol: A Solidity smart contract for verifying the proof.scripts/verify.ts: A JS script for verifying the proof in Remix.
On the plugin UI, the «Proof Artifacts» section appears along with buttons to view the four main generated files («View Proof», «View Public Inputs», «View Verifier.sol», «View verify.ts»).
Verifying proofs
Once the proof is generated, you can verify it in two ways.
On-Chain verification (with Solidity)
Follow the steps below to verify your proof on-chain using Solidity:
In the Noir plugin, click «View Verifier.sol» to open the verifier contract.
Go to the «Solidity Compiler» plugin in Remix, open «Advanced Configurations», and check «Enable optimization». Compile
Verifier.sol.Go to the «Deploy & Run Transactions» plugin and deploy the
HonkVerifiercontract.Find the
verifyfunction on the deployed contract.Go back to the Noir plugin, click «View Proof», and copy the entire
0x...hexadecimal string. Paste it into the_proofparameter of theverifyfunction.Click «View Public Inputs», copy the entire
["0x...", ...]JSON array string, and paste it into the_publicInputsparameter.Execute the
verifytransaction (call). If it returnstrue, the verification is successful.
Off-Chain verification (with JS Script)
Follow the steps below to verify your proof off-chain using JavaScript:
In the Noir plugin, click «View verify.ts» to open the verification script.
Click the dropdown arrow next to the «Run script» button in the editor’s top bar.
Select «Open script configuration» from the menu.
In the configuration panel or modal, set the «Execution environment» to «Noir».
Close the configuration window and click the main «Run script» button to execute the script.