Foundry
Foundry is an Ethereum development toolkit for compiling, testing, and deploying Solidity smart contracts. With Remix Desktop, you can connect to a local Foundry project folder and deploy to a local Anvil chain. These features are not available on the online IDE, you must use Remix Desktop to access them.
Deploying to Anvil
To deploy to Anvil, Foundry’s local test chain, Anvil needs to be installed and running on your computer.
Примечание
You can install Anvil by following the instructions in this guide.
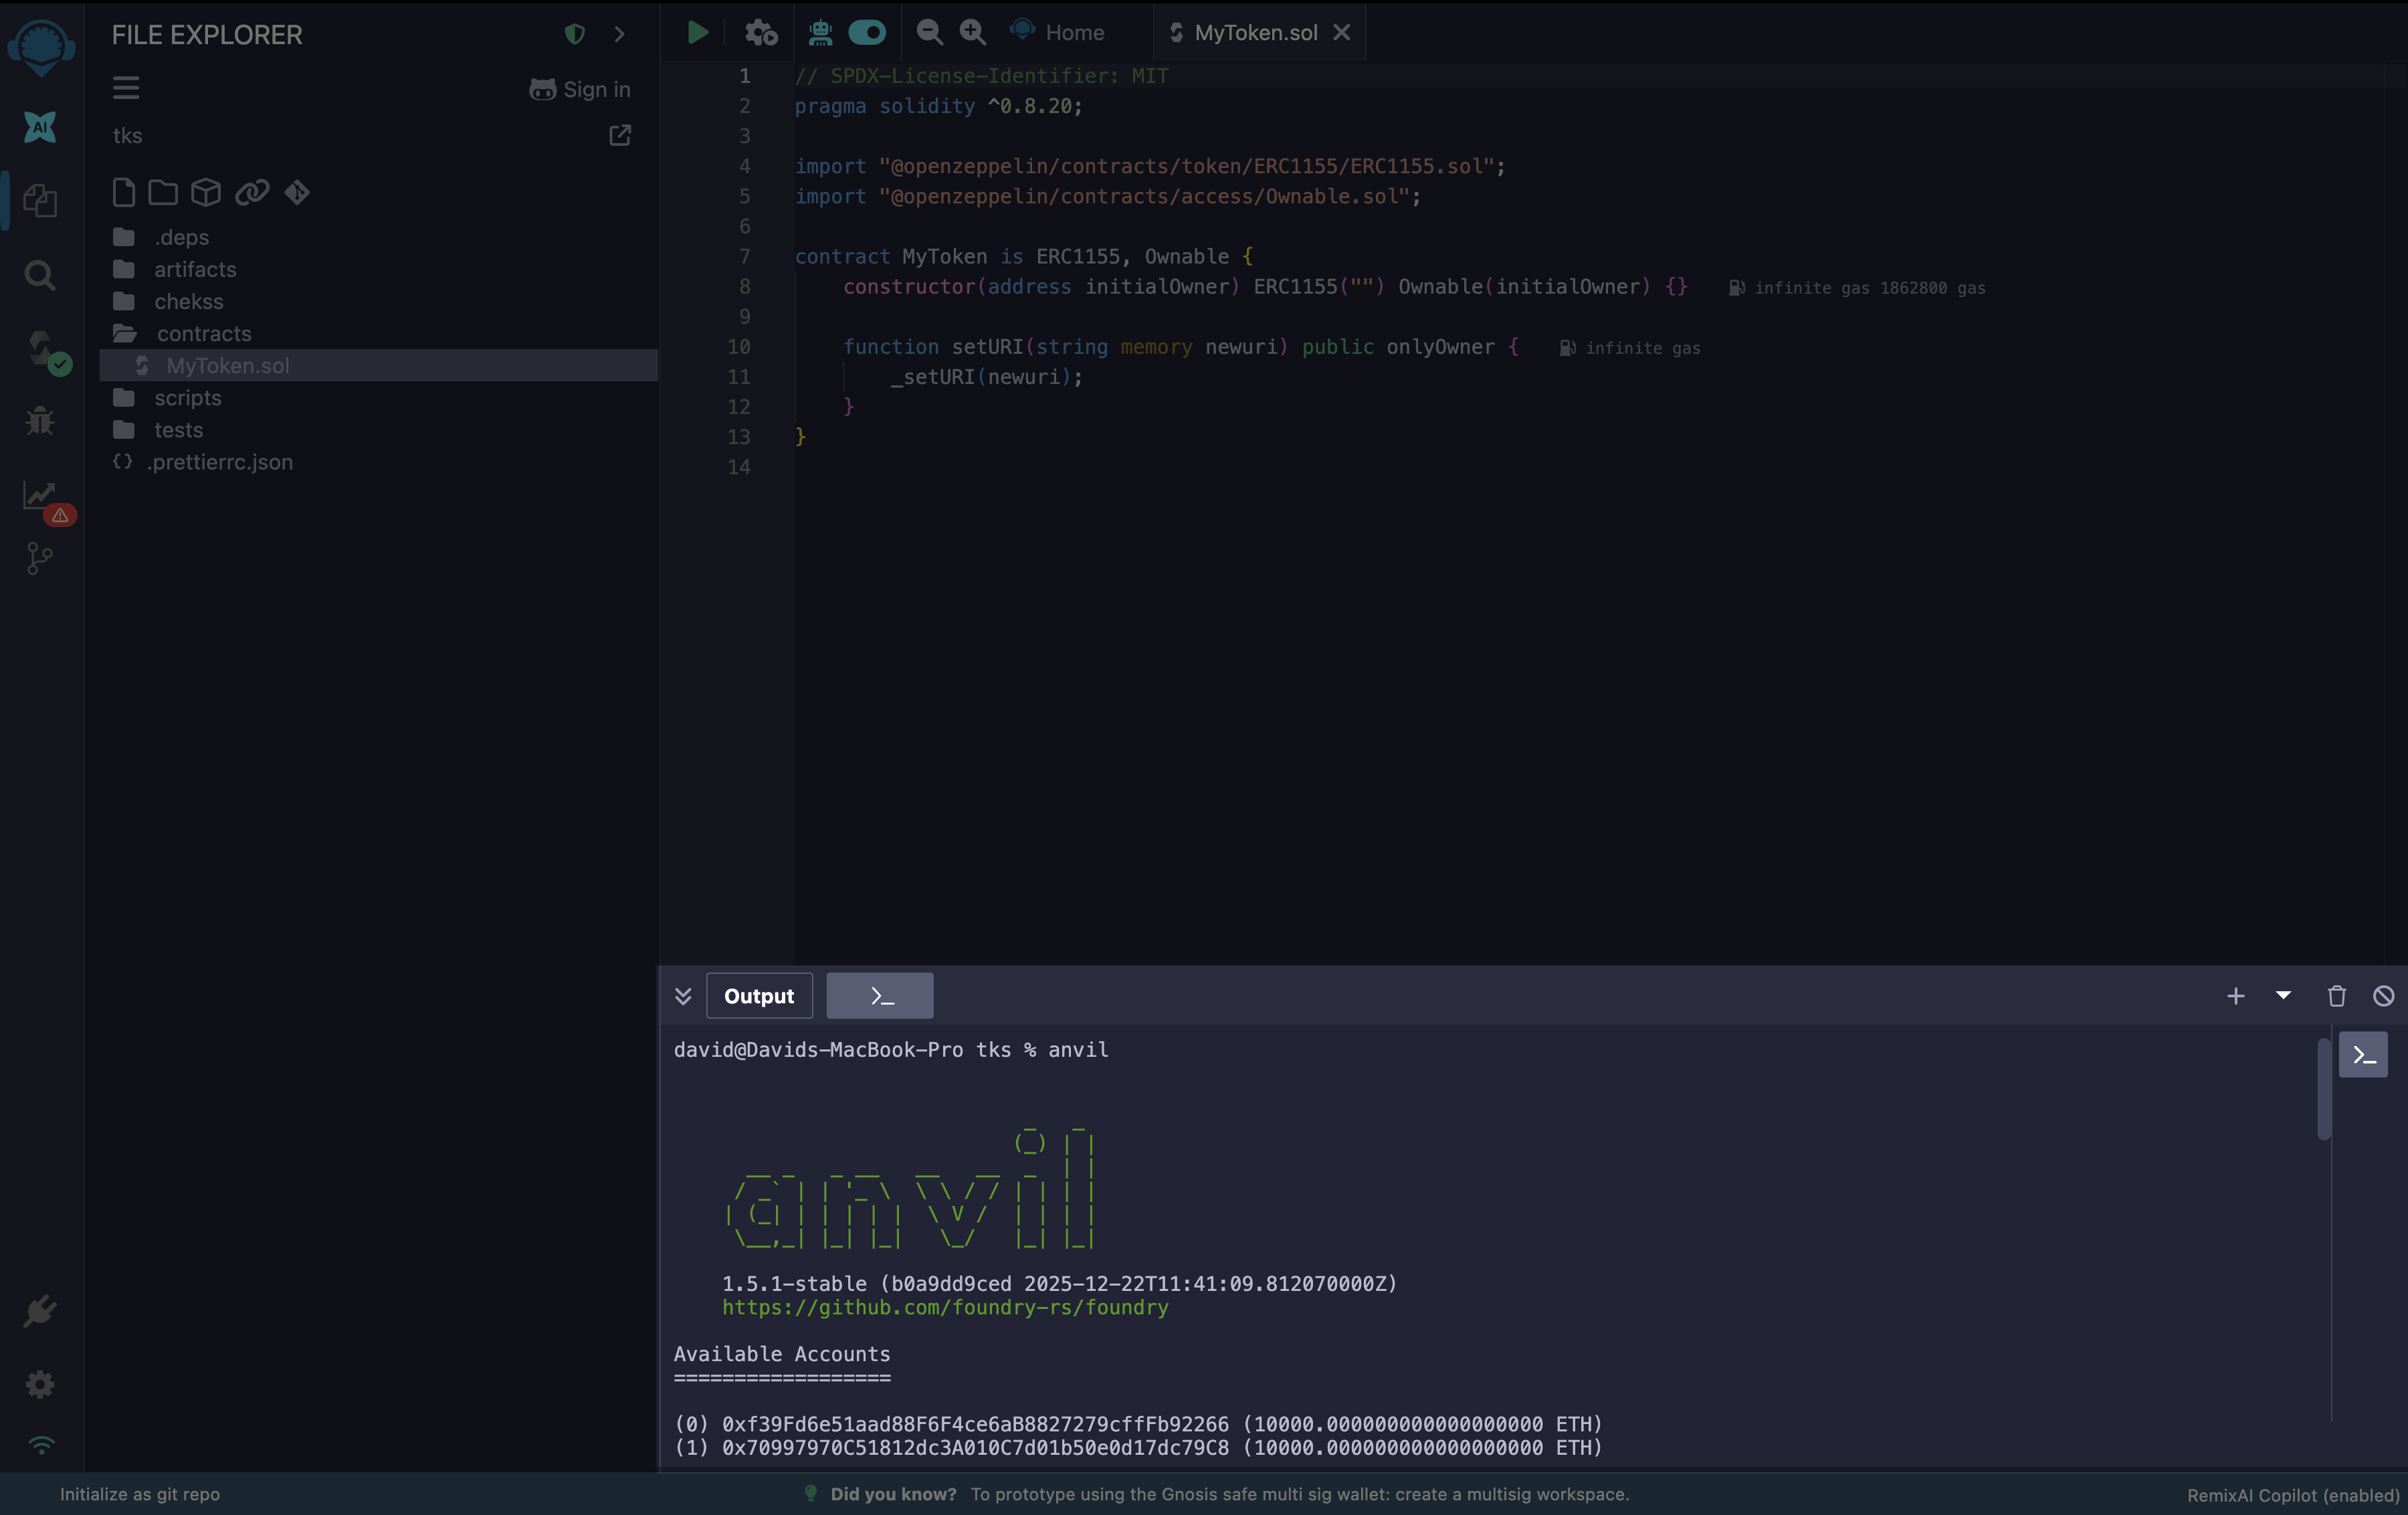
Then, start Anvil by running the command below in the Remix Desktop terminal:
anvil
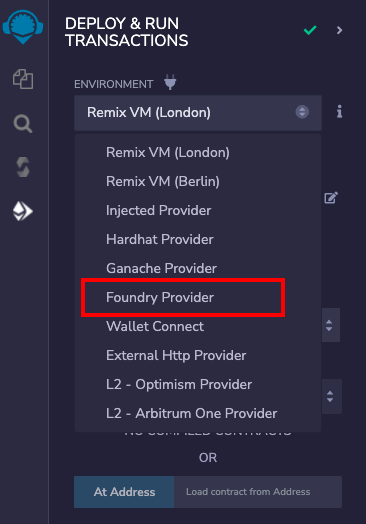
Then select Foundry Provider in the Environments section of the Deploy & Run module.
As soon as you select Foundry Provider, a modal is opened asking for the Anvil JSON-RPC Endpoint.
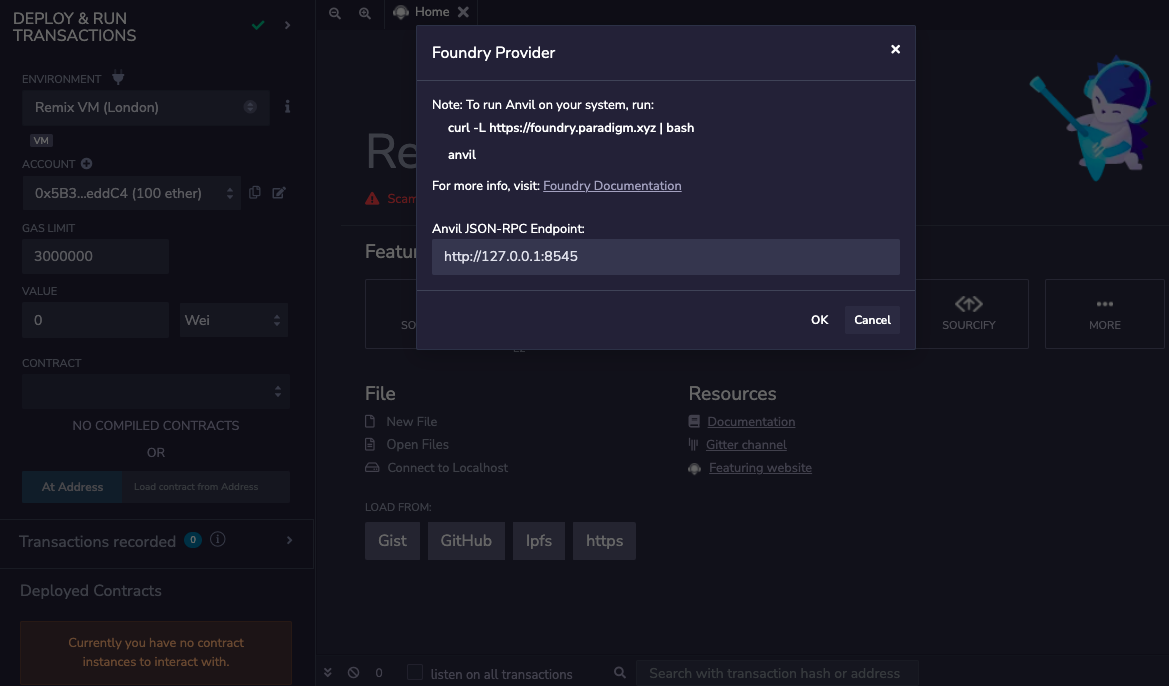
If the Anvil node is running with default options, the default endpoint value in the modal doesn’t need to be changed. If the Anvil node host and port are different, the JSON-RPC endpoint should be updated in the modal’s text box.
Once the correct endpoint is filled in the modal, click OK and the accounts from the Anvil node will be loaded in the ACCOUNT section. The network id will also be shown.
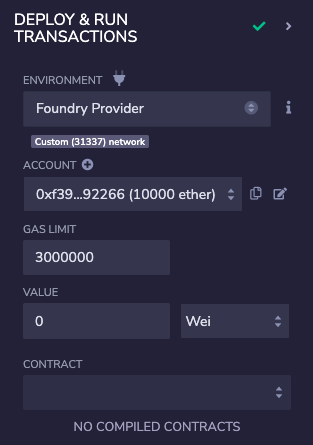
Now, you can start deploying the contract from Remix IDE to the local Anvil node as usual.
Foundry remappings
Foundry manages dependencies using git submodules and can remap dependencies to make them easier to import. So imports defined by remappings can have compilation errors on Remix IDE.
To support such compilation, Remix suggests running compilation using a compiler config file. Remix adds some default Forge remappings in the compiler config file when a Foundry project is loaded on Remix Desktop.
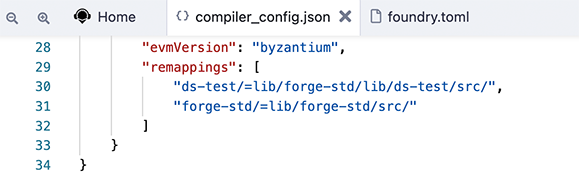
Further, more remappings can be added manually if required.