File Explorer
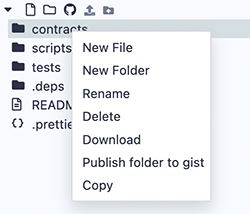
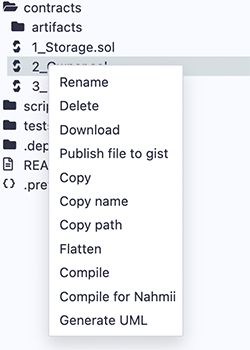
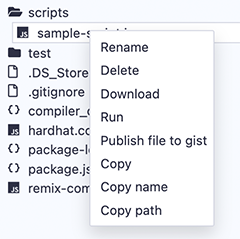
The File Explorer is for managing workspaces and files. This plugin also contains many shortcuts and commands. For a quick tour, right-click on a file to get a pop-up menu and also check the hamburger menu at the top right of the plugin.
To find the File Explorer module - click the File Explorer icon.
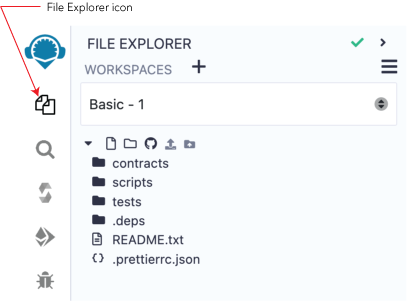
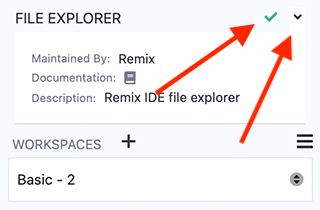
The green checkmark at the top of the page means that this plugin is maintained by Remix Team. When the caret is clicked, more info about the plugin will be shown -including a link to this documentation.
File Storage
By default, Remix IDE stores files in IndexedDB.
Coding in Remix IDE Online is different from writing in a Google doc.
A Google doc saves your work to your account on Google’s servers.
Remix has no user accounts. By default, files are ONLY saved locally in the browser’s storage. So tread carefully, browser storage is not permanent!
It is very important to have a file backup & file saving strategy.
Check the following techniques for:
Important Note: Clearing the browser storage & IndexedDB will permanently delete all the files stored there. It is prudent to backup your workspaces before deleting them…just in case.
File Storage on your hard drive
Remixd
For storing files on your computer’s hard drive when using Remix Online IDE, use Remixd
Remixd is an NPM module that runs on your computer. It allows you to share a specified folder on your computer with Remix IDE.
Remix Desktop
Remix Desktop is a version of Remix IDE in an Electron app. Note that when using Remix Desktop, you cannot use a browser wallet like MetaMask, because Remix Desktop does not run in a browser. To connect to public networks, you need to use service like Infura and then use the WalletConnect plugin to approve transactions on your mobile device.
Connecting Remix to remote Git repos
If you are not using Remixd, it is highly recommended that you save to a remote repo. (Browsers do crash causing localstorage & indexedDB to be corrupted)
Remix IDE can be connected to remote Git repos hosted in GitHub (or similar service) or in IPFS.
Most of the Git operations are done in the DGit plugin. (DGit stands for Decentralized GIT).
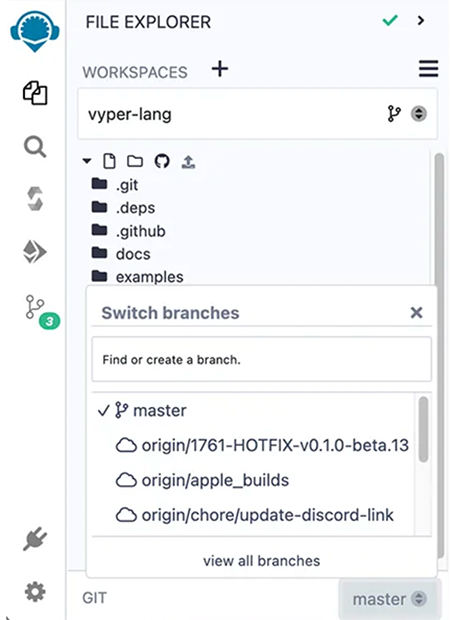
Branch management is also available at the bottom of the File Explorer when the Workspace is Git initialized.
Also see this article about securing your files in Remix
Workspaces
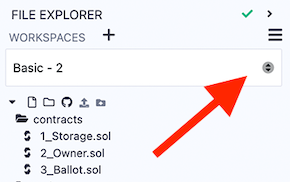
Workspaces in Remix are special folders that separate projects. Files in one workspace cannot import or access files in different workspace. Choosing a workspace is done with the Workspaces select box.
New Workspace
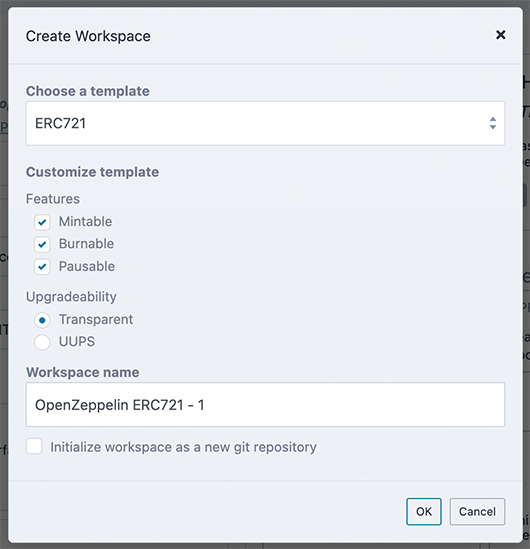
Workspaces are created by clicking the + button or by going to the hamburger menu in the upper right side of the File Explorer.

When making a new workspace, Remix offers the following templates:
Blank
Remix Default
OpenZeppelin ERC20
OpenZeppelin ERC721
OpenZeppelin ERC1155
0xProject ERC20
Gnosis MultiSig
When choosing an OpenZeppelin template, additional functionality can be added.
Workspace operations
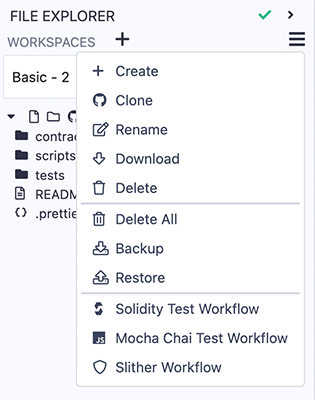
The Workspace hamburger menu is for operations that work on an entire workspace.
Clone
When clicking Clone, you’ll be asked for the url of a remote repo. A new workspace will be created that will contain the cloned repo. To manage the Git repo, go to the Dgit plugin.
Backup
Backup is for downloading all the Workspaces in a .zip file. The zip file will have a folder called .workspaces that will contain a folder of each Workspace. Depending on your OS, you may need to change the preferences on .workspaces folder to make it visible.
Restore
Restore is only for uploading the backup zip file.
Create GitHub Actions
The Workspace operations to create Solidity Test Workflow, Mocha Chai Test Workflow, and Slither Workflow are for creating GitHub actions. When clicked, a .yml file is created in the .workflows folder of the active Workspace.
Workspaces initialized with Git
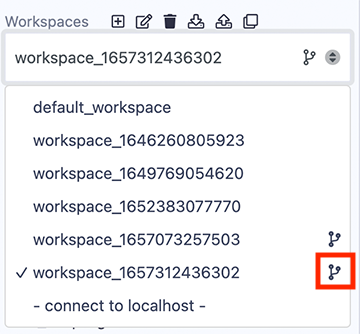
Git initialized workspaces will have the Git icon next to them in the Workspaces select box.
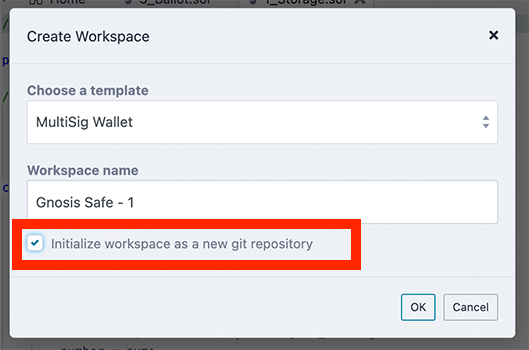
To initialize a new Workspace for GIT, check the box at the bottom of the Create Workspace modal.
Working with Files
When a file is clicked on it will appear in the Editor.
Under the Workspaces select box are a number of icons that perform operations on files. More operations can be accessed by right-clicking on a file or folder (see below).
![]()
A. Create a file
B. Create a folder
C. Publish all the file in this Workspace to a GIST
D. Upload a file into the current Workspace
E. Upload a folder into the current Workspace
Creating new files
There are 2 ways of creating files:
The first is to click on the new file icon (H. in fig.1), then an input for the new file’s name will appear in the File Explorer. Once a name is entered, a new empty file will open in the Editor. If the file’s name is entered without a file extension, the extension .sol will be appended by default.
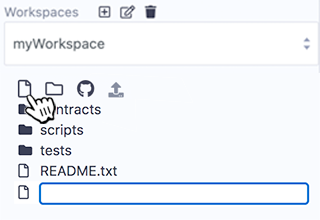
The second way of creating a file is to right-click on a file or folder to get a popup menu.
The new file will be placed in the currently selected folder of the Workspace. If a file and not a folder is selected, then the new file will be placed in that file’s folder. And if nothing is selected, then the file will be placed in the root of the current workspace’s folder. Or to be brief — just be mindful of what folder it lands in.
Publish to Gist
The icon (marked J. in fig.1) publishes all files from the current Workspace to a gist. The Gist API requires users to be authenticated to be able to publish a gist.
Click this link to Github tokens setup and select Generate new token. Then check the Create gists checkbox and generate a new token. Also make sure you check the box to enable the creation of Gists with this token.
Take the token and paste it in Remix’s Settings module in the Github Access Token section. And then click Save.
You can also publish by right-clicking on the file or folder.
Git in the File Explorer
In Remix, a workspace can be initialized with Git. The Git commands then operate on the workspace.
Initialize
For information about initializing a workspace, see this section.
Clone
The clone command is located in the Workspace hamburger menu. For more information, see the section about workspace operations
Branch Management
When you are in a workspace that is initialized with Git, at the bottom of the File Explorer, you’ll see the place for managing branches.
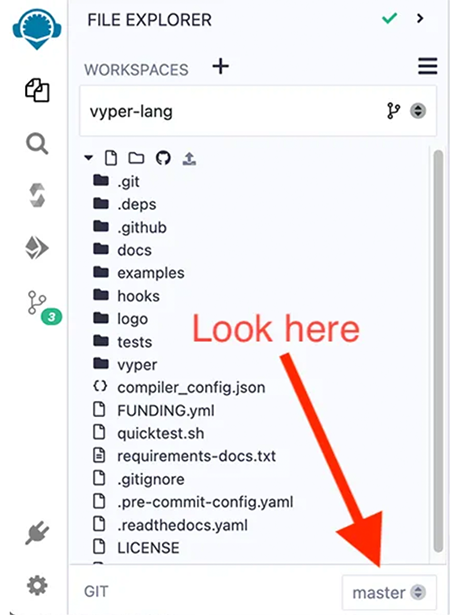
Then when you click on the branch name, this section will expand with an interface for switching branches and for creating a new branch.
For the rest of the Git commands, go to the DGit plugin.
For more info about the DGit plugin, see .
