Settings
You can access Settings for Remix by clicking the gear icon at the top right of Remix.
General settings
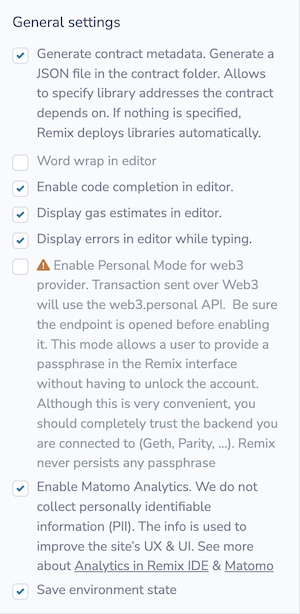
Generate contract metadata is used for deploying with libraries. See our blog post on the subject: Deploying with Libraries
Always use Remix VM at Load will make the Remix VM the selected environment when Remix loads.
Word wrap controls if word wrap is enabled in the Editor.
Enable code completion in editor controls code completion. Autocompleting Solidity code happens when you type in the Editor. This option has the Compiler run in the background. For more information about autocomplete, see the Editor docs.
Display gas estimates in editor controls if gas estimates are shown. The gas estimates only works when a compilation is successful.
Display errors in editor while typing
Enable Personal Mode for web3 provider can be used when one is connecting to a local node. It is used to have Remix temporarily save the passphrase - so that you don’t need to unlock the account in Geth. Remix will not persist the passphrase - so if you refresh your browser the passphrase will be gone.
Save environment state controls if state of the Remix VM (Remix’s simulated blockchain) is saved in a file in the File Explorer. With this option enabled, the Remix VM’s state will be saved, so if the browser is closed, the state of the VM will be preserved when you return. This is true as long as the storage in your browser does not get cleared or corrupted.
Appearance
The Appearance subsection allows you to customize the look of Remix. You can choose between the Dark and Light themes.
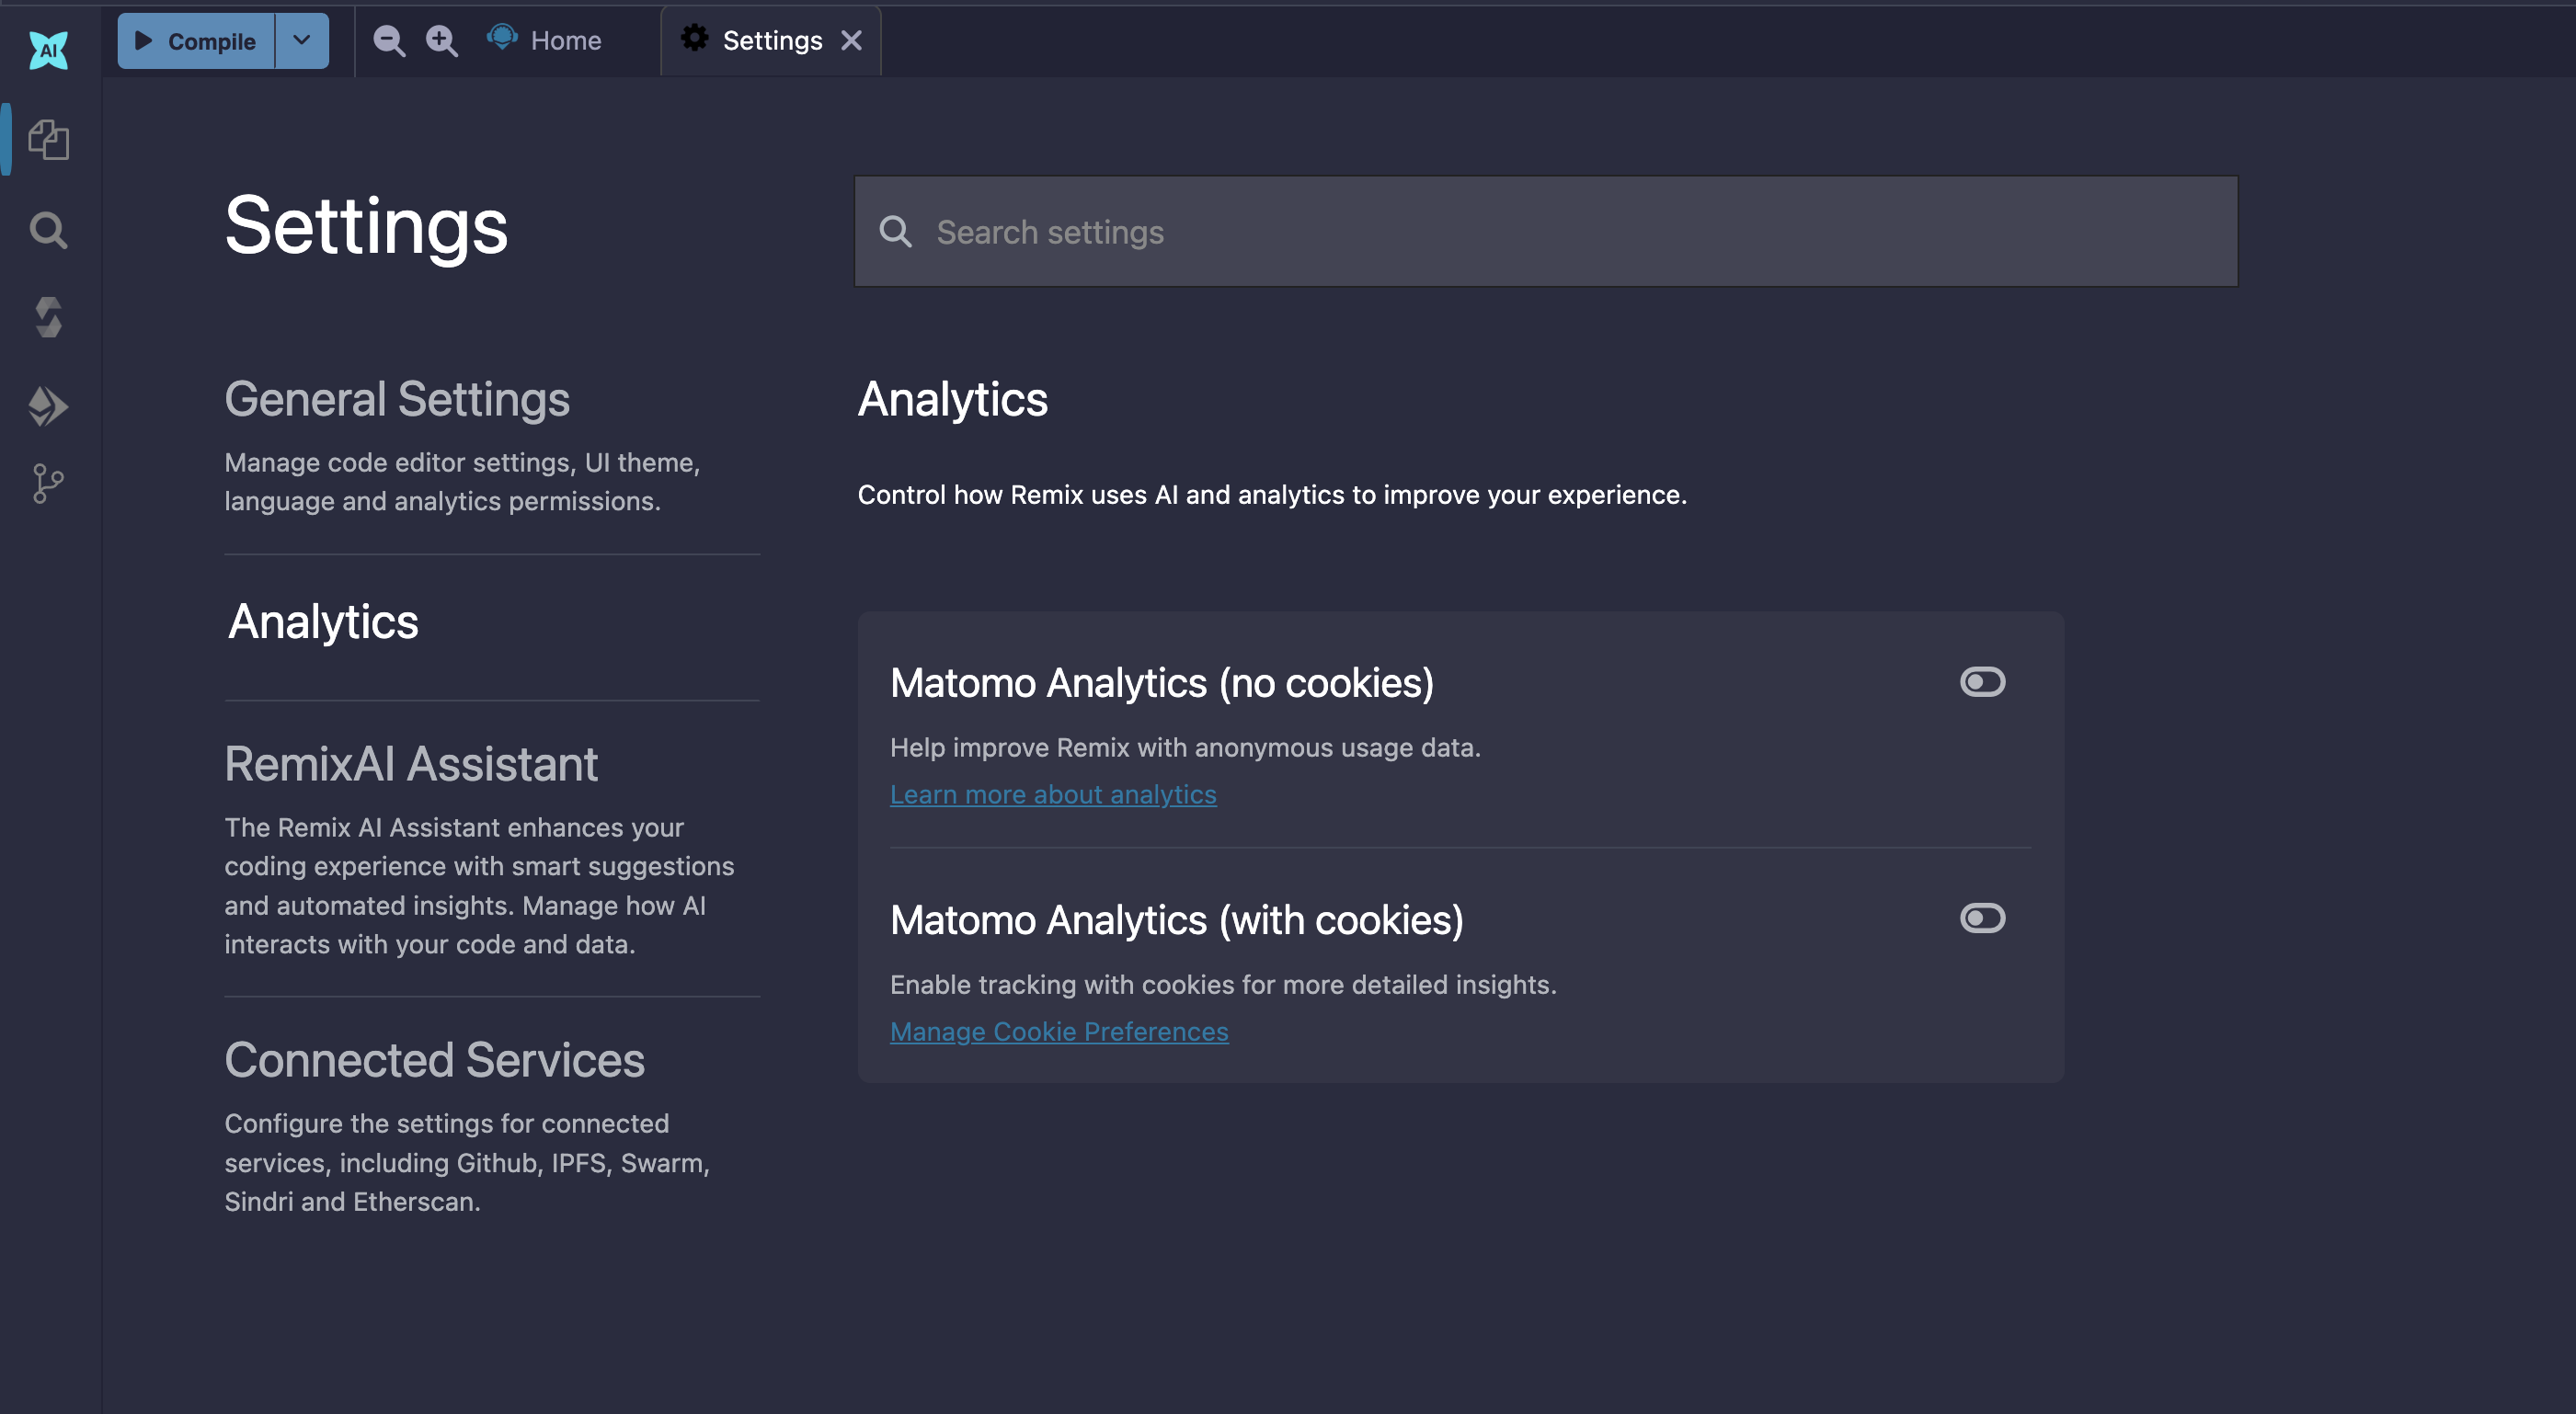
Analytics
Matomo Analytics is our “opt-in” analytics platform. The option to turn on Matomo is offered when you first come to Remix. You can disable or enable Matomo here in the Settings panel. We do not collect any personally identifiable information (PII) and our reports are public. See our blog post on the subject.
RemixAI Assistant
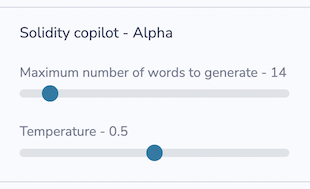
The RemixAI Assistant section allows you to configure RemixAI, manage LLM selections, and control Model Context Protocol (MCP) connections.
LLM Configuration: Select your preferred AI model (OpenAI, Anthropic, MistralAI, or local Ollama).
MCP Connections: Enable or disable connected MCPs (Remix IDE, Workspace, Terminal) and manage their permissions. This allows the AI to perform agentic tasks within your environment.
Privacy & Data: Configure data retention and privacy settings for your AI interactions.
For more information about using AI in Remix, see the AI documentation.
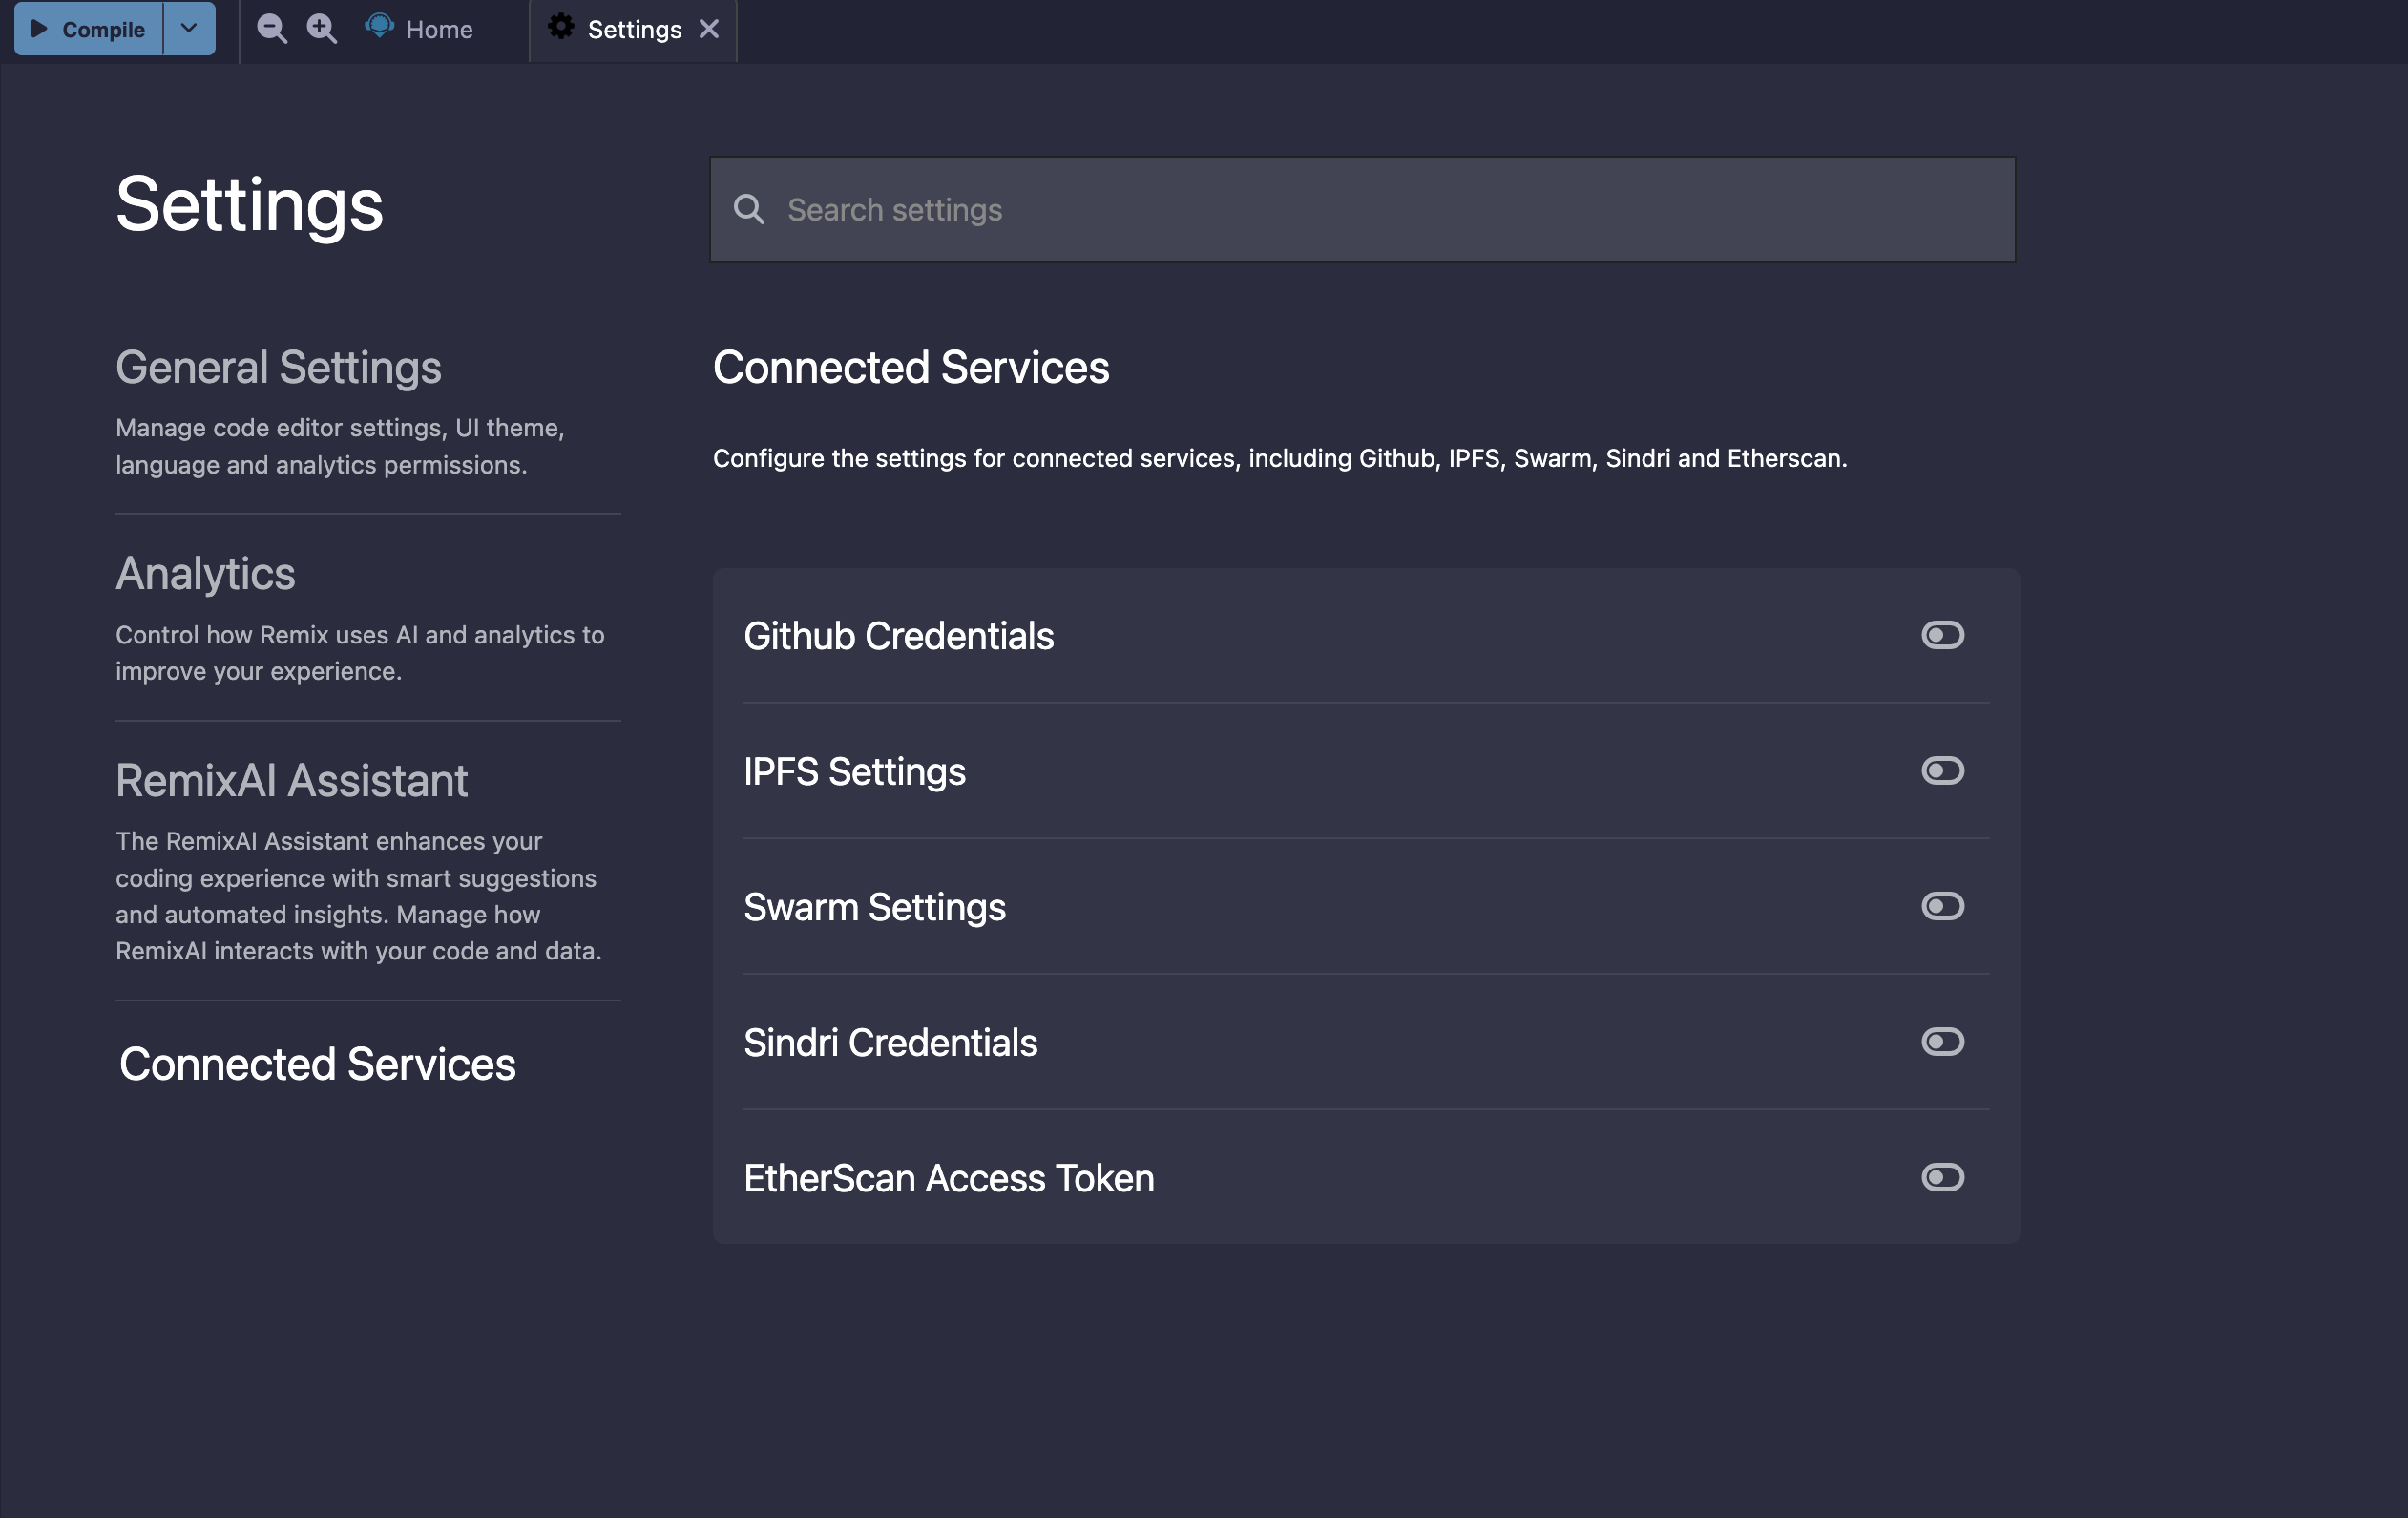
Connected services
The Connected Services section allows you to configure credentials and access tokens for external services that integrate with Remix. These connections enable features like Git operations, contract verification, circuit compilation, and decentralized storage.
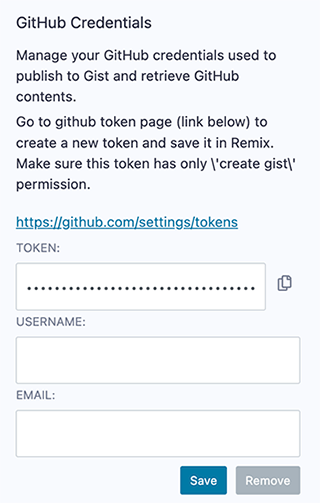
GitHub credentials
When performing Git operations on GitHub and when creating GISTs, it may be necessary to input an access token. This token has the specific permissions for your Git commands. Depending on the operation, you may also need to input your GitHub username & email address. Remix does not save your password info outside of your browser’s localstorage.
Etherscan Access Token
The Etherscan Access token is used in three operations in Remix:
When using the Deploy & Verify button, the token can be saved either in the Settings panel or in the Contract Verification plugin’s Settings tab.
When using the Contract Verification plugin, the Etherscan Access token must be placed in the Contract Verification plugin’s Settings tab.
When debugging verified contracts with the Remix Debugger, the token must be input in the Settings panel.
See the Contract Verification plugin Docs for more info.
Tip
Visit the Etherscan API page to get your Etherscan API key.
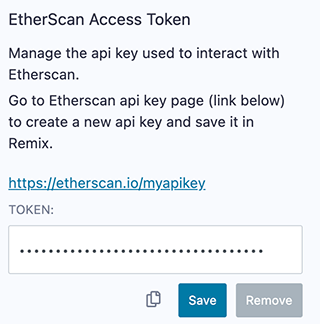 Adding Etherscan Access Token on the Settings Page
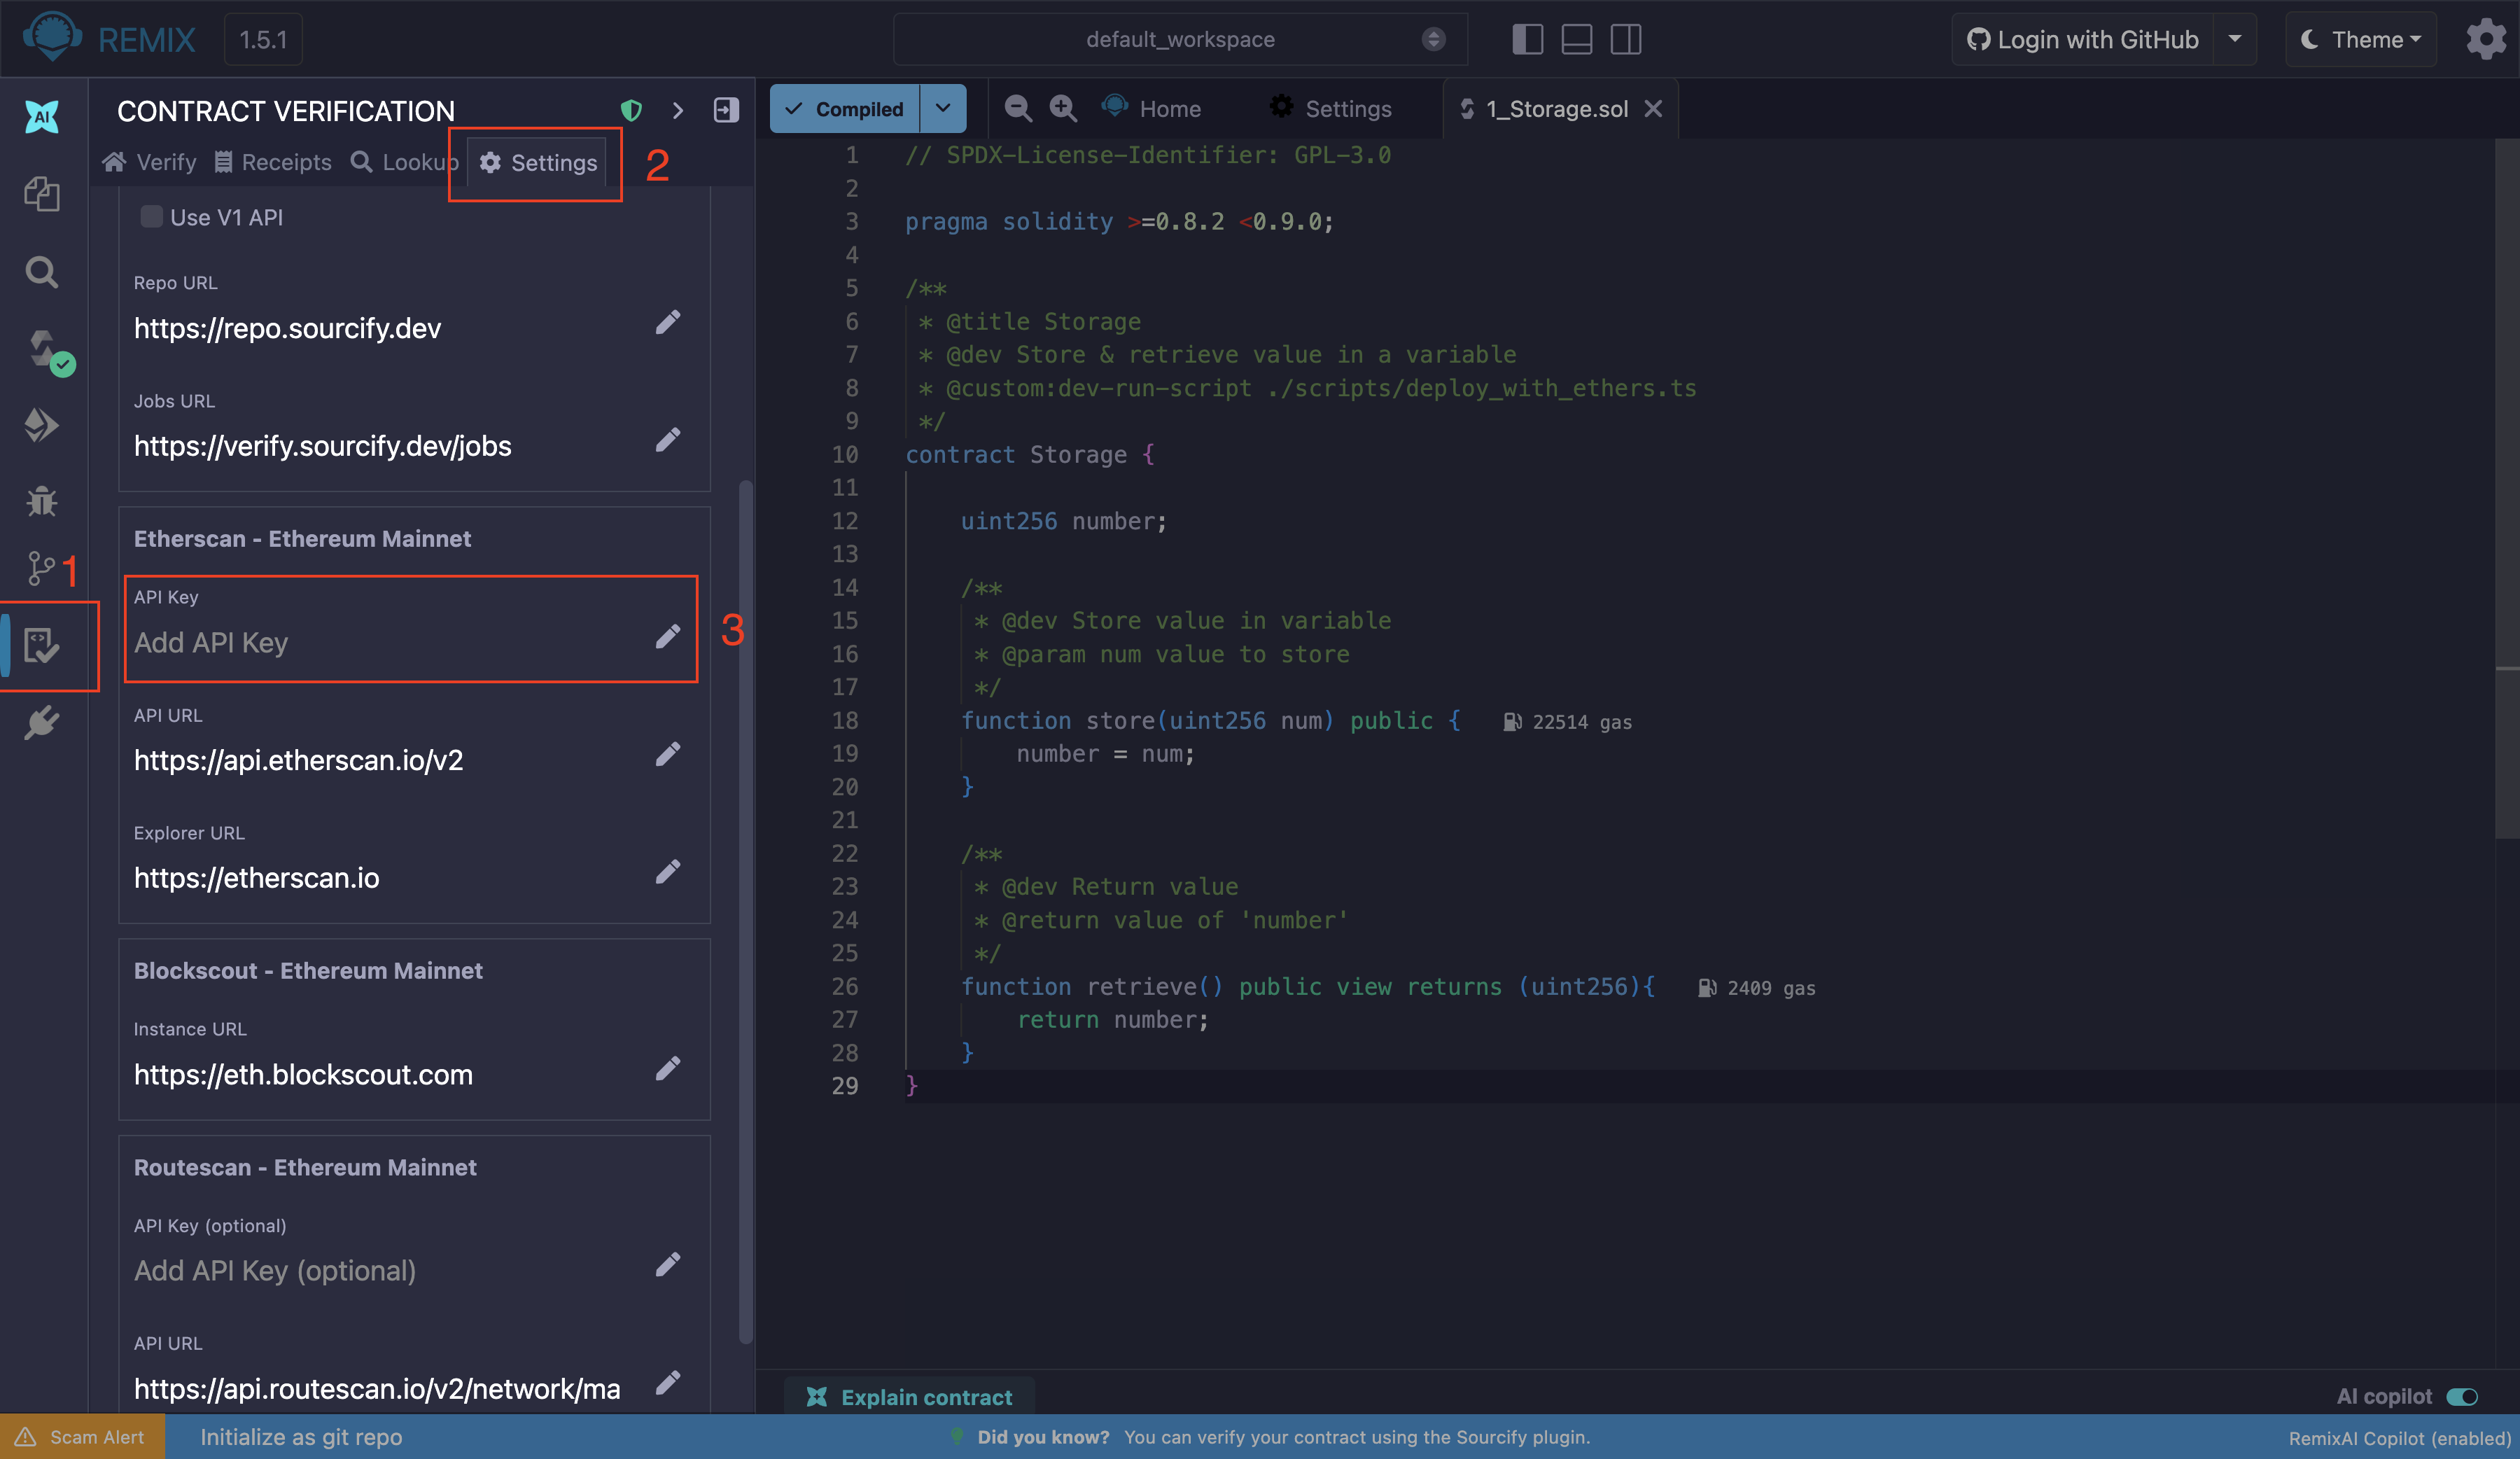 Adding Etherscan Access Token on the Contract Verification plugin Settings Page
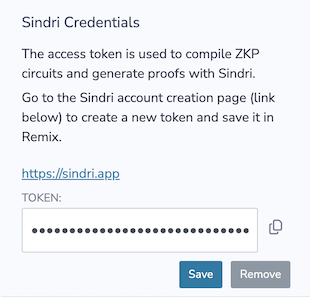
Sindri Credentials
The access token is used to compile ZKP circuits and generate proofs with Sindri. To generate the token go to Sindri.
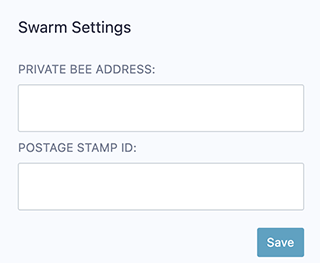
Swarm Settings
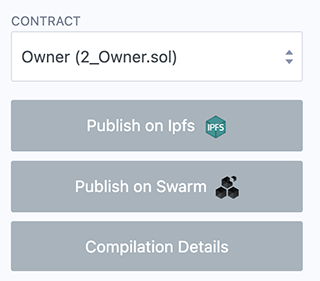
In the Solidity Compiler, after the compilation is completed, there is a button to publish to Swarm.
Without putting in an address & postage stamp, you’ll be using the public gateway, which may not persist your content as surely as if you put in your own info.
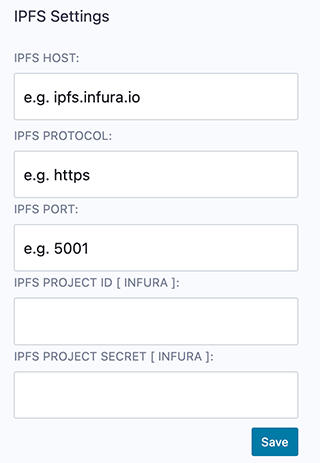
IPFS Settings
Just like the Swarm settings above, IPFS settings are for publishing your contracts to IPFS from the Solidity Compiler.
If you do not put in any settings here, you will be using the public Infura node. This will not guarantee your data will persist.
Other options are to:
Use your own Infura IPFS node. This requires a subscription. Learn more.
Use any external IPFS which doesn’t require any authentication.
Use your own local IPFS node (which usually runs under http://localhost:5001)